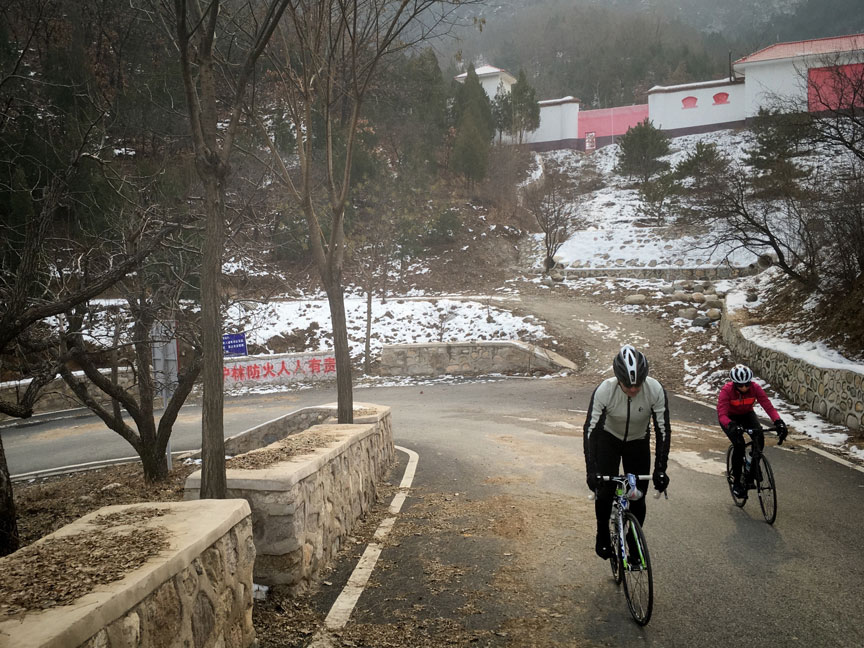
How to survive Beijing winter on your bike.
Intro
Whether you have been thinking of participating in a race next year, beating your PR on that 70.3 Ironman or you just want 2016 to be a better and faster cycling year for you, then you most likely need to be thinking of preparing for it already now. I’m not talking about packing your bags or getting a new wheelset, I’m talking about training. When the weather gets colder it’s harder to convince yourself that getting out on the bike is such a good idea, but it will reward you in the long run. The training efforts you put in at an early stage will show up later as added strength, better endurance or a stronger mentality. Because if you could get through that two hour ride in rain and sub-zero degrees in December, then you can beat the hell out of that three hour race in June for sure!
Step 1: Physical preparation
So it’s cold and it’s wet. So what? You can dress yourself out of almost any situation and a few techniques will help you understand exactly where to spend your money.

Gloves
Frozen toes and fingers are a nightmare. You can’t feel your feet, you feel like your ankles are frozen and you can’t change gears or brake properly anymore. The first place to kit up is gloves. For gloves you want something that can handle wind and preferably a bit of water as well mixed with something like microfleece insulation. Lobster-style gloves are usually warmer but can make riding a bit difficult, so try them on and see how you feel about it. Otherwise a pair of good 5 fingers will do in most cases. You don’t want your gloves to have a snug race-fit, rather a little bit of room for insulation. And whatever you do always go for a pair that covers a bit of your arm a well. If the shaft is too short your arms are going to freeze badly.
Shoe covers
When it comes to your feet you can go two ways. Shoe covers or winter boots. Covers are the cheaper, but boots are warmer. If you decide to stick with your normal shoes and shoe covers there’s a few tricks you can use to make your setup even warmer, and that’s because your shoes are made to ventilate your feet during hot summer rides.
Have a close look at the sole of your shoes and find all the ventilation holes. Now depending on the type of holes there is a few different things to do. Either cut a bit of rubber or other material to size and jam it up there with a little bit of glue, or do it from the inside, so that you close the ventilation hole. Take your insole out and inspect it for ventilation holes. Chances are that they will sit the same places as the holes on your outer sole. Insole should be replaced regularly anyway, so use your old insole for winter training and fill the holes with a drip of super glue, and while you are at it, put a few layers of aluminum foil under it to make an insulting layer. You can get winter specific insoles, but chances are that they take up to much space or don’t provide the same arch support as your cycling insole.
For shoe covers get a pair that are both wind- and waterproof. Also have a look at how high the shaft is as a gap between your shoes and bibs could be a cold disaster. Normally good quality shoe covers have all these features.
You can also get a bit of warmth from a pair of good socks, but be careful not getting them so thick that you don’t have enough space for your toes to wiggle around. If you do they will most likely make your toes freeze even more.
One of the best combinations I have seen of shoe covers were a set of oversized wind and waterproof shoe covers with a set of tight fitting home knitted wool covers underneath. According to that rider it was plenty warm, but they did rub on the pedal arms though.
Winter boots
If you go down the boot alley, you will most likely not suffer from anything mentioned above. They don’t have ventilation holes in the outer sole, the insole is already an insulated type and the shaft should reach up high enough to cover your bibs. An extra bonus is that they most likely are made half a size wider to make room for thick winter socks, so no reason not to go for a really warm and cozy set of socks. If you want to make a serious effort during winter without freezing your feet off winter boots are definitely the way to go.
Bibs
Go for a set of bibs that can handle the cold wind you will be facing. Check that the chamois sits nice and firm where you want it and that you can move around in them. A high quality pair should have a chamois that covers all the essentials from a slow and painful freezing death. It is possible to get warm underpants to wear under your bibs for extra warmth, but they get mixed reviews. They are warmer but adds discomfort.
Jacket
The key to cover your torso is layers. You can get away with riding a thin jacket in sub-zero degrees if you are smart about your layers, while the warmest jacket can make you freeze if you are not. Consider wind, rain and transportation of moist and sweat. A really warm jacket can make you sweat a lot and if you don’t have the layers to get the sweat away from you skin it will start making you cold. So get a good fitting baselayer and pair it with a windproof jacket. For colder days you can put a thin layer in between or put a vest on top. Make sure you can adjust your layers while riding, so you don’t end up boiling or freezing. A zipper on the front and maybe under the arm pits as well, to give some ventilation if you go a bit harder. The difference from a cheap to a higher quality jacket usually lies in the fabrics and features of the jacket. A high quality jacket will use different fabrics different places, so you get the best sweat transportation and wind protection right where you need it.
Accessories
A thin tube, scarf or similar around the neck to stop wind from entering your jacket is priceless. So is a thin skull cap or head band to protect your forehead and ears from the unmerciful cold wind.
My favourite winter setup
Here’s my preferred setup for a sub-zero winter ride. I can usually go for a few hours without problems in this setup.
Winter boots and a pair of winter cycling socks made of a wool blend.
Bibs with microfleece insulation and windproof front.
Lobster style gloves consisting of a thin five-finger inner liner in a lobster style outer glove. Wind- and waterproof.
Mesh style baselayer with a tight fitting long sleeve second baselayer on top of it to make a really warm inner layer that transports sweat fast and keep you dry. On top of that I put a jacket with a windproof front to keep things nice and cozy while riding.
On top of that I usually put a neck tube and a tight fitting hat. The tube doubles as a chin and mouth cover if the weather starts getting rough.
I usually find that it feels too cold for the first 5-10 minutes, but once you start warming up it is a really good setup.
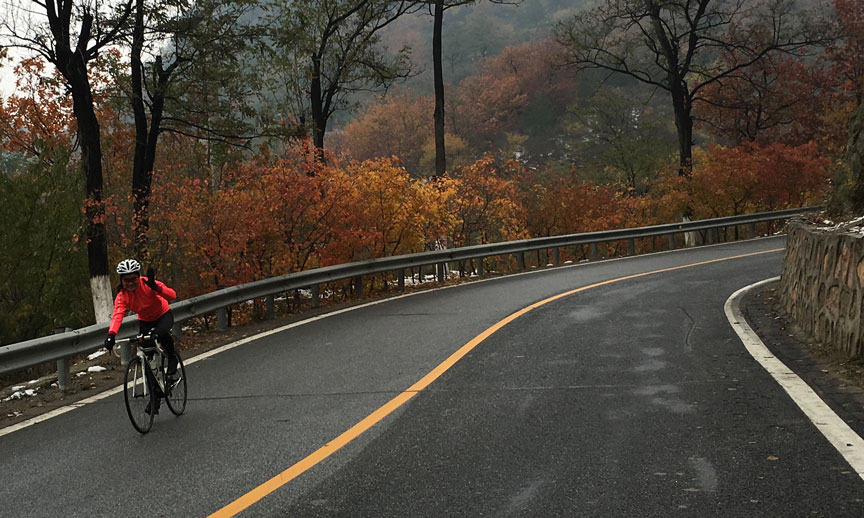
And I have to point out that I said almost – I’ve tried a 3hour ride in a near snowstorm, nothing could have saved me back then. Why I did it I will tell you in step three. And remember what works for some, does not always work for others. Different riders have different cold thresholds and will have different opinions on what gear they think works or doesn’t.
Step 2: Mental preparation
Set up a big goal for next season
Set smaller goals during winter – ride 500km a month etc.
It all starts in your head. Put aside all thoughts of how cold it is and that it might be a bit wet on the road, and think of all the positives instead. All those endorphins you get released on your summer-ride in June will also get released on a winter-ride in January. All the stress you can get out of your system will also get out on a winter-ride and your mind will be completely clear afterwards. And best of all you can allow yourself to eat all the good Christmas food you want and take that extra dessert, because you spent one or two hours on your bike prior to Christmas dinner. So start to change your mind-set about it already now and once you are out it is usually not as bad as you thought, when you were laying in your bed. And afterwards it will be way more rewarding as well!
Once you have gotten around getting up and out the door, you want to keep your motivation and make it more fun to keep getting up and out, so if your bed starts winning the fight in the morning, it might be a good time to set yourself a goal for next season. It’s up to you if the goal is to finish a 100km ride, participate in a race or to beat your PR (or best buddy) in a 70.3 Ironman.
But even the best goal might be a bit far away, because every time you look at your calendar there is still six months left for training. However at some point you will realize that the six months are gone and you missed out on a lot of great winter training, so instead you could start chopping your goal into smaller pieces. One way of doing this is to either make of have someone to make a training program; this might however be a bit costly. Another great way is to set small weekly goals to aim for. Whether it’s getting out once a week or nailing 1000km a month doesn’t matter, as long as it gets on your bike. And every goal you reach will be a small victory, so no reason not to celebrate it – I suggest a warm coffee and pastry post-ride! Remember to post a picture on Wechat and brag about it.
This leads me to the next step:
Step 3: Social preparation
Social preparation is about putting rides out on social media and joining in when other riders put their rides up. There are a lot of great Wechat groups for this, so no excuse for not putting a ride up next morning. The great thing about this is that it is way harder for you to sneak out on an already planned ride, if there are other riders involved. You would not let your mate freeze alone for 90 minutes would you? And I know for sure that I feel a bit bummed every time I see other riders putting pictures on Wechat about riding and post-ride breakfast and alike. Nobody wants to miss out on all the fun, which is exactly what social preparation is about. The more people you can get to join a ride the further and faster you can go and the more fun it gets.
Winter training
Lastly I would like to give a short opinion of my own on winter training for anybody wanting to ride faster next season. I usually see winter training as the fundament for your training next season. If that fundament is not properly set during winter, there’s a chance that you will miss a few percent of improvement next season. So get out and build that fundament now.
The “Leverpostejstræning”
“Leverpostejstræning” is a Danish word that translates to “liver paste training” and is used to describe training without any effect. Liver paste is popular in Denmark and the Danish word is used to describe anything that is mediocre, so if you have average brown coloured hair it would be described as liver paste hair. The same goes for the training it helps describe. Training without an impact. To simplify it I will put different training measurements into boxes. In the liver paste box I would put training focused on average speed. This is a bold statement, but in my opinion that is the worst way to spend your time on the bike if you want to improve your speed. If you focus on your average speed you will most likely ride in a sub lactate acid threshold level and therefore never really challenge or improve your lactat acid threshold level. It is definitely not useless as it is really good for burning fat and it gives a lot of training on the saddle and sometimes group riding as well.
The heart rate training
A way to improve your training is to put focus on heart rate instead. Heart rate is easy to use, easy to interpret and usually gives enough data for most riders to benefit from. The key to getting the most out of it is to test your zones and use them. The easy way is to do two tests. The first is to test your maximum heart rate, do at least 20 minutes of warm-up and then go all out for a minute or two and see where your maximum is. Rule of thumb is 220 minus your age, so you should fall relatively close to that. The next test is to find your lactate threshold. Ride as fast as you can for an hour and see what your average heart rate was. It is usually around 85% of your maximum heart rate but varies from person to person.
When you have that value you can start benefitting more from the hours you put on the bike. Some people think that intervals are about riding all out for a minute, but if you differentiate it you can target different aims. Try mixing your normal winter riding with a few intervals where you put your heart rate up by 5 %. Start with two 4 minute intervals, 4 minutes rest between, on a ride on week one, do 8 minutes on week three, after a few weeks try going for 12 and 16 minutes. If you can do the 16 minutes, then start going for a 7-8% higher heart rate for 4 minutes. You should get the system by now. The goal is to push your limits and get more confident riding harder than usually. A lot of riders have a “just-in-case”-reserve and if you don’t challenge it, you don’t improve it.

Morten Svangren Bodilsen